kill -HUP 1466 && kill -HUP 1497 && kill -HUP 1603 && kill -HUP 1606
- Alright here I made a mistake, I forget to create SSH authentication for the notalentgeek user.
- So, here I learn that SSH need to be connected for every account in the server and not just for root account.
- I will try to delete the Droplet and start fresh again so that I can understand how this is working.
- Alright now I am back at the part that I was left. Now, I need to generate SSH keys for the new user.
- But first I need to login into the newly created user first.
- I make a mistake again here, instead of using the key that is already in my local I generate new SSH keys in the server from the newly created user.
- Everything went fine but for some reason I cannot make the first admin account for my OwnCloud. Here is the error,
SQLSTATE[HY000][1045] Access denied for user 'user_test'@'localhost' (using password: yes).
- I suspect this is because I logged in using wrong password. But I tried to logged in using MySQL interactive shell via SSH it works. I am not sure at which part I make a mistake.
- At this moment I overcome the database error by just making it using SQLite.
- Now I am trying to put TagSpaces in my server but it always return 404 error. I suspect this happen due to improper
chmod and chown.
- Alright I will try to wrap up for to day. I will not care anymore about MySQL database. I think SQLite would just do the work.
- I have posted some questions here.
- https://www.tagspaces.org/blog/webdav-edition/, here I asking what the author meant by
your_www_group:your_www_user.
- I suspect the solution I could not login into my MySQL database is because I have not yet to start the MySQL server. This is the command to start off MySQL server under Linux based operating system,
sudo /etc/init.d/mysql start. I can replace the start with restart or stop. I found the solution from this StackOverflow discussion, http://askubuntu.com/questions/82374/how-do-i-start-stop-mysql-server.
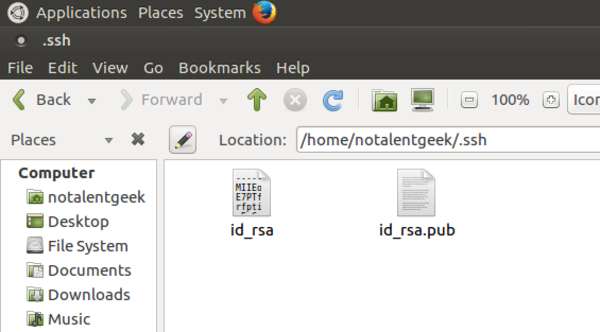
- This is the SSH keys.
- I am not sure which one is the SSH keys and which one is passphrase.
- Here is the thing about passphrase. Although I never try this by myself, I think if I opted "yes" when asking to use passphrase or not during when I was generating the SSH keys. I will need to present passphrase key every time I do SSH connection.
- So, the passphrase is something like a key file to login. An additional file that is need to presented as a key.
- Below are some images that I took during this session. However, the steps are not in order, so make sure to always refer to original tutorials.
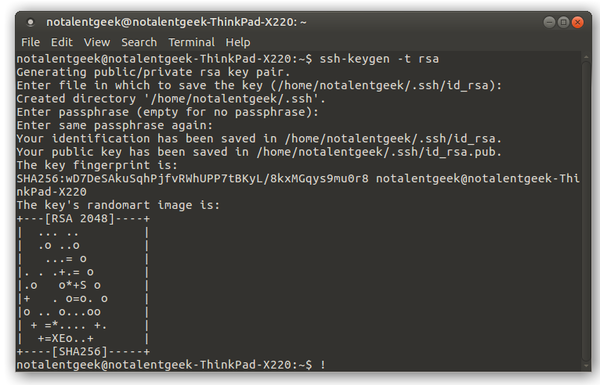
- This is what happened when I successfully generate SSH keys.
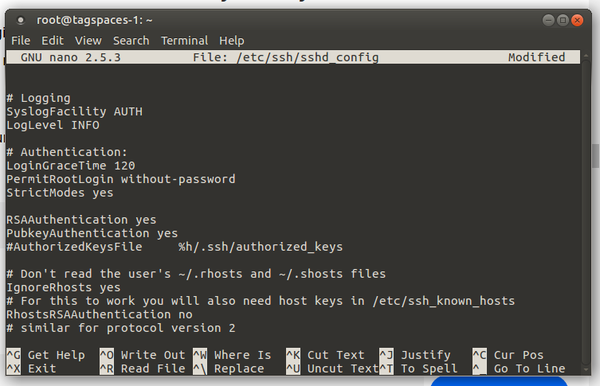

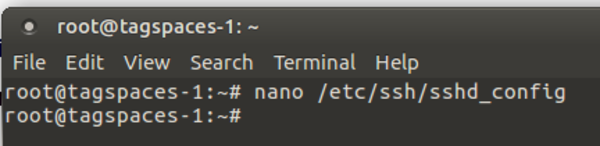
- Edit
nano /etc/ssh/sshd_config.
- Change the value of
PermitRootLogin with without-password.
- So it will be
PermitRootLogin without-password.
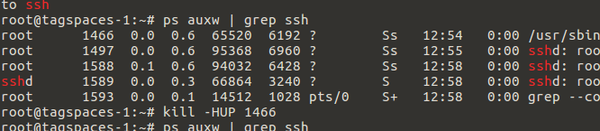
- In the tutorial I need to kill all command those have id of "root".
- There is this thing that might me wondering a bit.
- In the tutorial it is shown that I will only have 1 id that is named "root". However, in my case there are several id those are named "root". So, with my assumption I guess I need to kill all those have id named "root".
- Here are the example codes. But you need to make sure that the number is the same.
kill -HUP 1466 && kill -HUP 1497 && kill -HUP 1603 && kill -HUP 1606
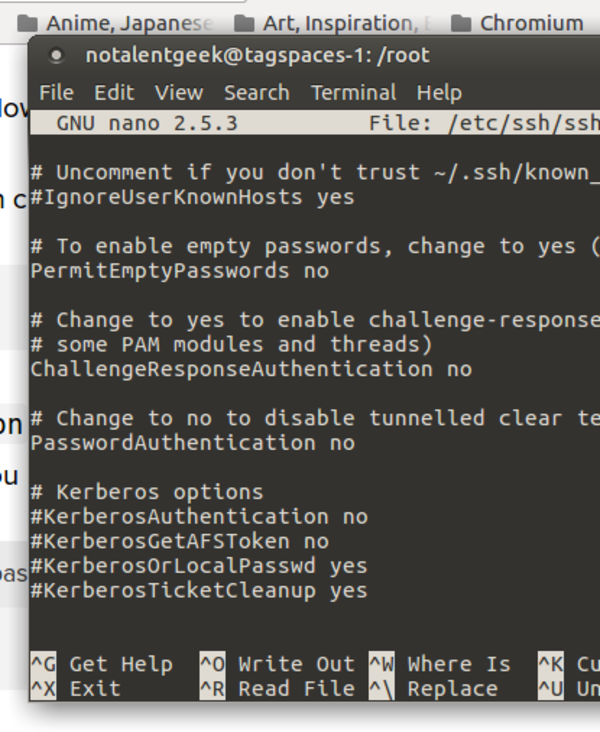

- Edit
nano /etc/ssh/sshd_config change the PasswordAuthentication value to no.
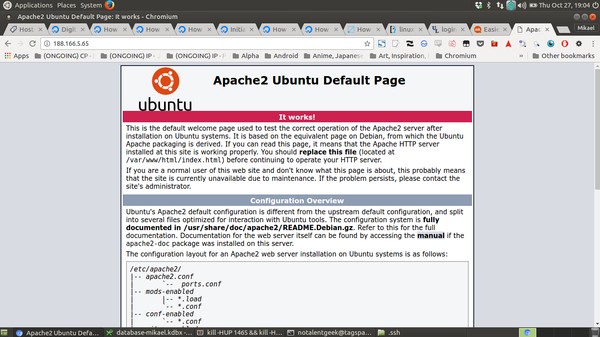
- Here is an example of which I successfully installed Apache2 server and then accessing it remotely.
- If you can see this page then the server is set.
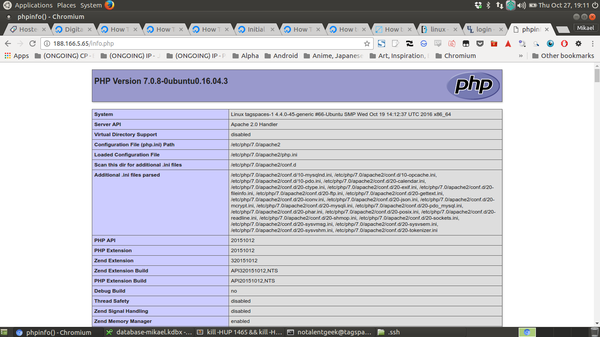
- Here is what I get when I successfully installed PHP in the server.